This lab outlines the steps you must use for your final project if you start from an existing MIDI file.
Standard MIDI files are not specific to a particular sequencing program, hardware sequencer, or type of computer. They contain the following information:
MIDI events, including time positions and channel assignments
Logic Pro allows you to import, open, and export Standard MIDI file formats 0 and 1:
Neither format recognizes any division of a track (into several MIDI regions, for example).
An import only loads MIDI region data (notes, controller, SysEx, pitchbend, specific meta events) into an opened project, with global data (such as tempo events, signatures, chords, track names, SMPTE start, and so on) being ignored.
Important: To import the global data, you must open the MIDI file. See Opening Standard MIDI Files for further details.
Do one of the following:
1. Choose File > Import from the main menu bar (or use the corresponding key command, default assignment: Command-I), then select a MIDI file in the dialog that appears.
2. Locate and select the MIDI file in the Browser, then click the Import button.
The MIDI file is placed at the playhead position, rounded to bars.
Drag a MIDI file from the Browser or Finder into the Arrange area. The mouse position—when the mouse button is released—determines the position (rounded to the nearest bar) ) and destination of the first track in the imported file.
If you want to load all information contained in a MIDI file—both MIDI region and global data—you must open it.
To open a MIDI file
1. Choose File > Open from the main menu bar (or use the corresponding key command, default assignment: Command-O), then select a MIDI file in the dialog that appears.
Note: If you choose the MIDI files option in the File Type pop-up menu, only MIDI files are displayed in the dialog. If a project is loaded, a dialog asks if you want to create a new environment or copy the current environment for the MIDI file.
2. Do one of the following:
- Click Copy to replicate the existing environment. The tracks of the MIDI file are automatically assigned to suitable instruments.
- Click New to load the environment of the default project template.
The MIDI file is loaded as a new project that contains all MIDI events—inclusive of time positions and channel assignments, names of individual tracks, names and positions of markers, tempo changes, and copyright marks. The copyright mark is read as marker text.
Note: As a default behavior, Logic Pro automatically creates software instrument tracks for each MIDI track, and assigns an appropriate GarageBand instrument to each, when you open a MIDI file. If you want to use external MIDI tracks for each MIDI track, press
Download Lab15FIles.zip. Extract the files to the Lab15Files folder.
Copy the folder to the Desktop. There are four files inside this folder.
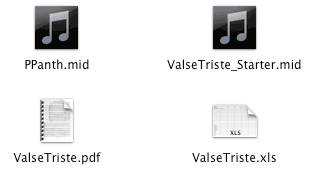
We'll use the Pink Panther MIDI file, PPanth.mid, as our example.
Play original the Pink Panther.mid.
Open PPanth.mid. Logic ordered the tracks by MIDI channel. Tracks 1, 15, 16, and 17 do not contain MIDI data.
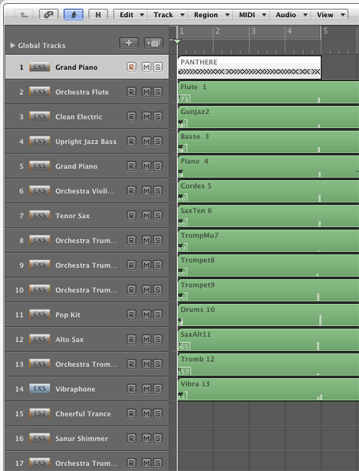
Delete them.
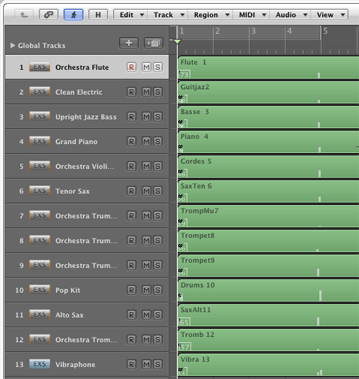
Logic attempted to find matching instruments based on patch changes or names found in the MIDI file. If instrument names were found they're shown as the title of the green MIDI track. Sometimes Logic cannot find an exact match to the instrument in the MIDI file and will make a guess. If your MIDI file does not have track names or Patch Numbers you'll have to figure out what instruments to use another way.
You're going to delete the instrument names in a few steps. Write them down now using Text Wrangler.
This is a job for the Lists Tool.
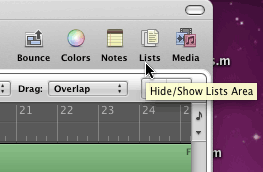
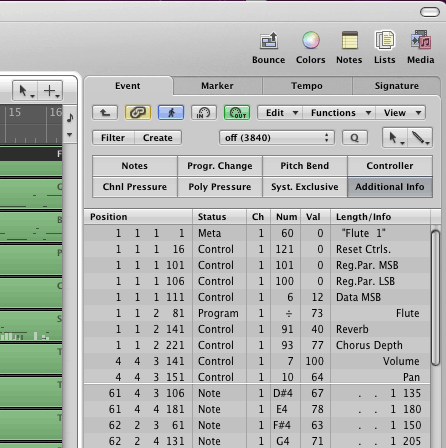
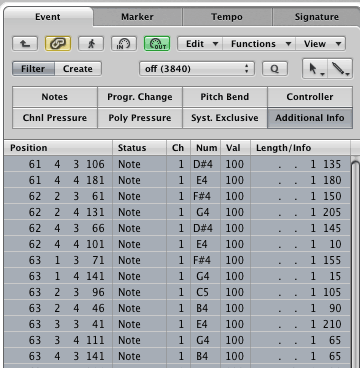
Click the Lists Tool to display the Lists Area. Because Track 1 was selected the Lists Area displays the MIDI information for MIDI channel 1. Most of the data should be familiar to you from the MIDI units. There is meta event for track name "Flute 1". There is a Reset all Controllers message, a Volume and Pan control message, and a few other control messages. There is a program change to Instrument 73, Flute. And there are a bunch of Note Messages.
Logic does not display separate NON and NOF messages instead it keeps track of the NON in the far left Position column. It keeps track of the NOF position in the Length/Info column. Actually you'd have to add the Length/Info data to the NON data to find the actual NOF time. The Position column is keeps track of "chronological" time in measures:bars:beats:ticks while the Length/Info column is keeping track of "relative" time referenced to Position.
You should recognize the columns Status+Ch, Num, and Val as the same data you called status-data1-data2 in MIDIDisplay.
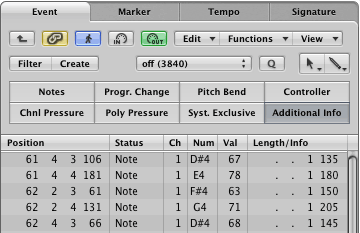
There is a group of eight buttons above the data columns. When the button is light gray the info is displayed, when the button is dark gray the info is not displayed. This example has turned off all Notes, so all NON and NOF data is hidden. You can now see additional MIDI events happening later in the song like Expression Control and Pitch Bend.

With all note messages hidden, right click anywhere in the data columns and choose Select All.
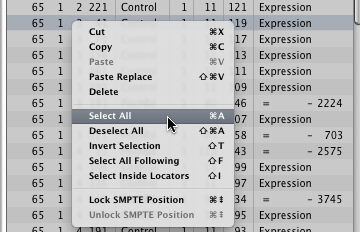
Type delete to remove all visible data. Turn the Note button back on and you should be left with notes only. Notice that the first note in Track 1 does not start until measure 61.
Click in the Track List and select Track 2.
Click the first meta event in the List View for Track 2. Select All. Shortcut: Apple-A. Type delete.
The same way.
Select Track 1 in the Track list. Turn on the Notes button to display the note messages.
Click in the Functions menu in Lists View and choose Transform/Fixed Velocity.

When the Transform dialog it is preset to change all velocities to 100. Click Select and Operate.
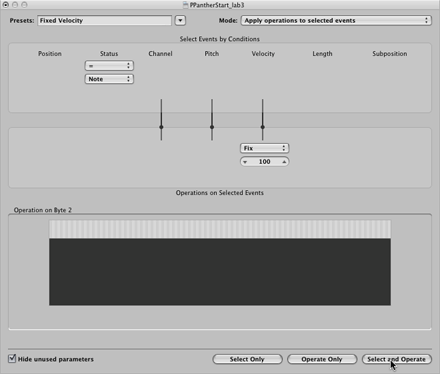
The Lists View should show all velocities converted to 100.
 TODO outline 100's
Do the same for the remaining 12 tracks.
IMPORTANT: Do not leave all velocities at 100 in your final project. This is just a starting point to create rhythmic drive and accents as learned in the midterm project.
Click the Tempo tab in the Lists Area.
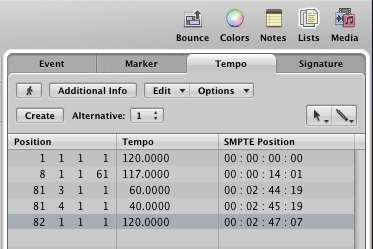
Delete all tempos except for 1 1 1 1.
You can leave these in the file.
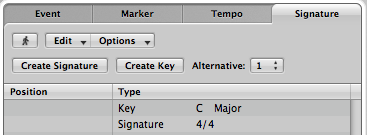
Expand the Global Tracks pane. You should see no markers, the time signature, key signature, and tempo displayed.
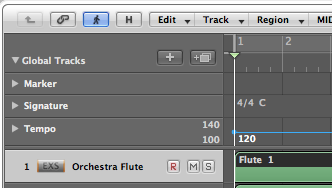
Your starting point contains only NON and NOF data and all velocities are set to 100. All other MIDI messages must be removed except for time signature, key signature, and starting tempo.
Export as pinkPanther_Start.mid.
Click once on the PPanth.mid file on the desktop and press the space bar. Play a minute or so.
Play the Logic Project. The instruments will be similar but there will be no Expression control fade out of note ends or Pitch Bend messages.
Click once on the exported MIDI file and press the space bar to play. Every track will be a Logic assigned sound except for the drum channel.
The goal of the final project is to learn how to use the editing features available in Logic to create a musically expressive performance.
Revised John Ellinger, January - September 2013